
URBAN DECAY SPECTRUM PALETTE REVIEW AND TUTORIAL!

I bought this palette about a month ago from Sephora online. They had it on clearance for $29 down from $55 so I just had to get it. I was never intending to because at $55 there's so many other palettes I would choose like the one I was purchasing at the time, The Kat Von D Serpentina Palette, but at $29 it was a steal so I bought it along with a few other items that have already been reviewed.

Here's the colors and swatches;


It was sold out within the week I purchased it and it was a Sephora exclusive and a Limited Edition Palette so I wouldn't expect to get your hands on the real thing easily or cheaply but I'm sure they are around if you're careful not to buy a fake. This is because it's been sold out and I know a good amount of people must have the palette or similar colors so that's why I'm doing this tutorial but first let's review.


This palette has a reusable case that when youre finished you can take the eyeshadows out and use it as a keepsake box for anything. Its got a jewel cut UD on the front and laser cut design on the sides of the top. It's a heavy metal feeling plastic. It's beautiful looking. This palettes colors are all really great. Most are pigmented enough, but not super pigmented. I actually kind of like that when talking about these types of colors I like the fact that they are buildable so it's not all or nothing, bright or super bright! Some of the colors have a ton of fallout but that's honestly to be expected with very fine milled shadows and it's much more noticeable with darker and more pigmented colors such as the darkest pink in this palette. That's easily corrected with some makeup wipes or a tissue blocking that area. All in all the colors are extremely easy to use, very buildable and great for those beginners since each row across is a simple ombre color look and there's plenty of room for experimentation. The color selection is great, the colors are blendable, and not at all streaky. They are a bit powdery and they don't last that long on their own but primer or concealer underneath can help the lasting power and bring out the color.

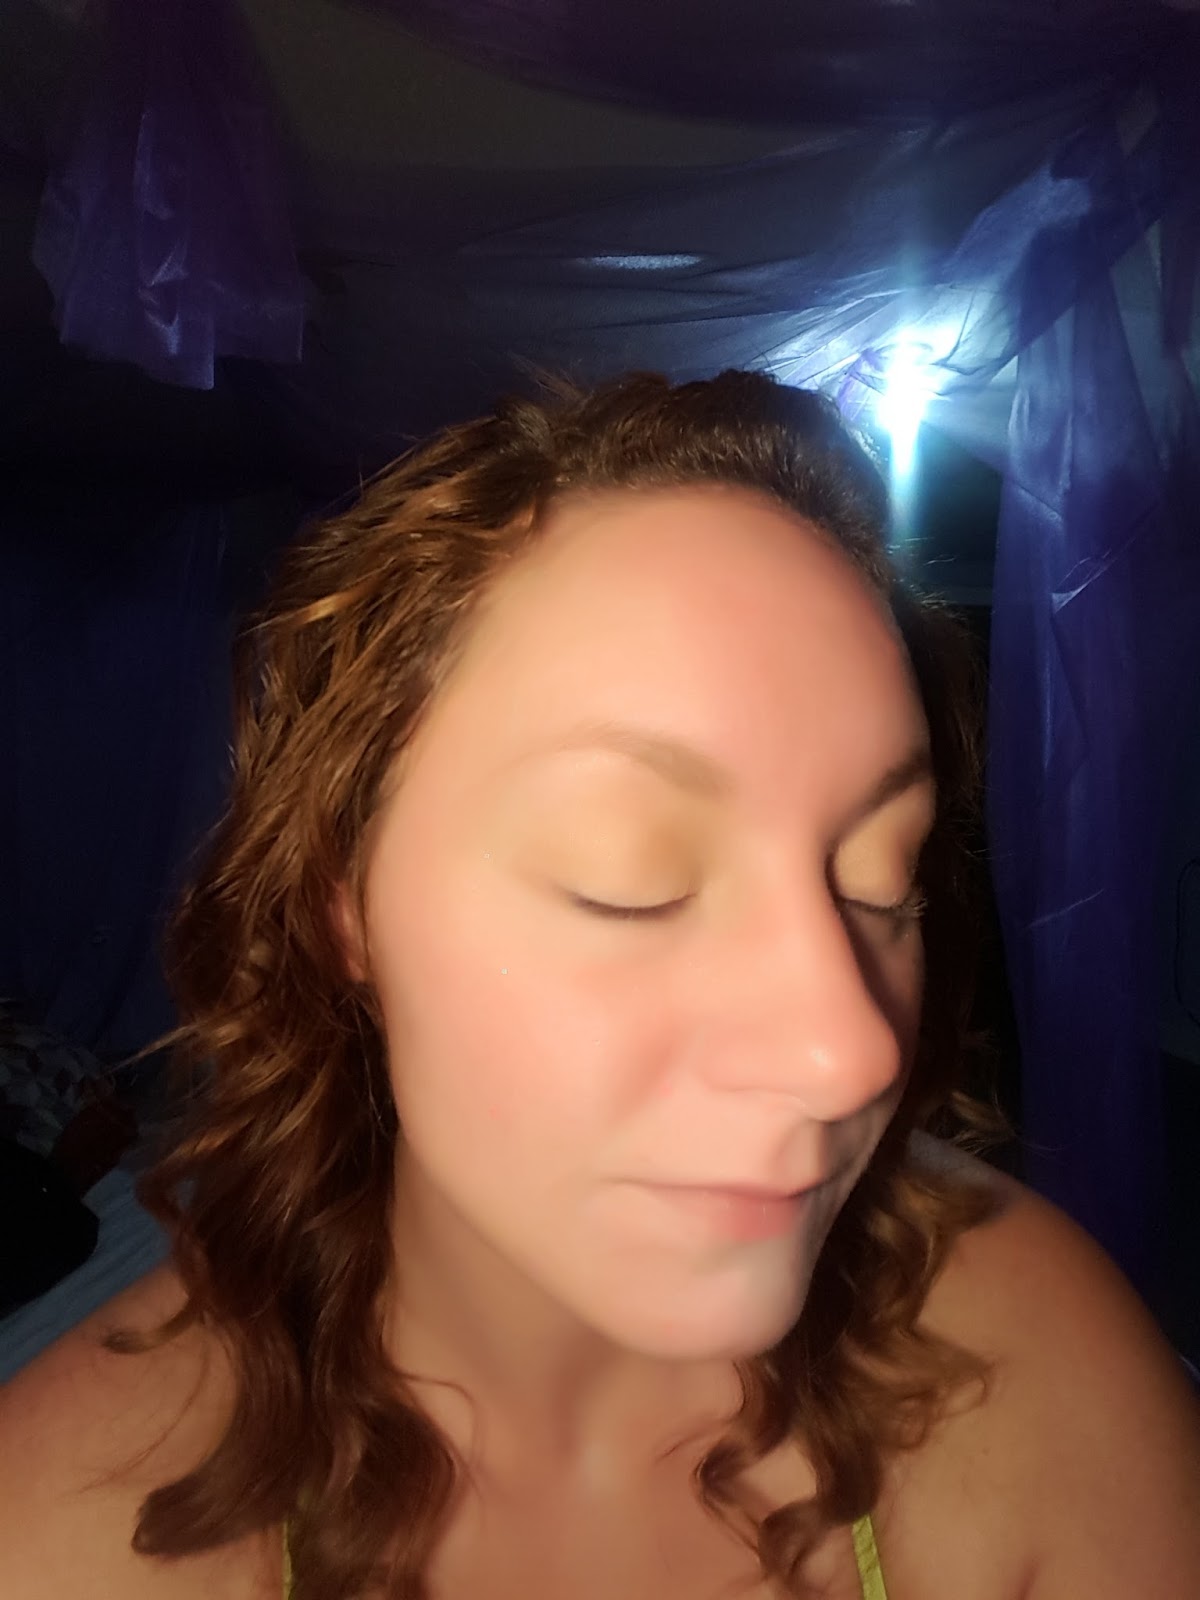
NOW ONTO THE TUTORIAL FOR THIS LOOK:

Unless otherwise specified use a back and forth windshield wiping motion in the crease, a small circular motion in the outer third and outer V, a patting motion on the lid, a swiping one direction drawing motion on the under eyebrow area, the arch of the eyebrow, the water line, the inner v and for all liner. Do not put foundation or other makeup on until eyes are done because it's wasteful since you will end up wiping it off or making a mess during clean up.
Products used at end of tutorial.
Step one: do your brows. I use a pencil then fill in with a brown powder eyeshadow that matches my eyebrow color. Then conceal all around brows to clean up line and keep brows in place. Put powder over brows very lightly to set. use a foundation or eyeshadow a little lighter than your skin tone from lash to brow.
Step two: with fluffy brush in crease put the color Daybreak and blend. Over that in the same place put Bordello. Blend.

Step three: with fluffy blending brush put Backlash in outer third and outer V. Then blend into crease inwards.


Step four: with fluffy brush put Voodoo in outer V. Blend outwards.

Step five: with eyeshadow brush put Flatline on lid and inner V.

Step six: with shadow brush grab Flashback and put it in your outer third. Blend with blending brush.

Step seven finishing: grab foundation or neutral matte color. I used charmer from my tarte in bloom palette. Swipe under eyebrow and just at top of crease color. Then grab flatline or the highlighter shade of your choice and put it directly under the arch of your brow and in inner eye. Also put it on bottom lash line on the inner half before lashes start.

Step eight: line with your fav liner. I use a black powder and liner brush first to give a more smokey look on top lash line and bottom lash line only where the lashes are then add liquid liner on top of that on top lash line only. The powder helps hold the liquid in place and makes it last longer and stops it from bleeding. Then add mascara. I use two different mascaras one on top of the other, two coats each for a really big look.


Step nine face: add concealer under eyes after cleaning them up with makeup wipe or tissue with lotion. Then add foundation and contour. Highlight on cheekbones, bridge of nose, forehead, cupids now and contour breasts. Blend face into neck line. Blend everything well. Use blush if you want a flushed look but I didn't for this look. Add lipstick. Then conceal outside of lips to clean up lips and make a sharp, clean lip line. Do not overdraw your lips. It's ugly and everyone can tell in the real world. Just please don't. Use lip gloss or a lip plumper for a larger looking lip without looking like a literal clown.

Products used:
+ABH brow duo brush #14 for liner and #20 for brows.
+Benefit Precisely, My Brows #3
+KVD Lock It Powder Foundation
+ABH Liquid Lipstick in Crush
+UD Eyeshadow in Buck For Eyebrows
+UD Spectrum Palette
+ABH Glow Kit in Sundipped for contour and Highlight with Darkest and lightest shade.
+Diorshow Mascara
+Loreal Telescopic Mascara
+Younique step one mascara
+KVD Ink Liner in Trooper
+Tarte Tartelette In Bloom Palette Smokeshow for eyeliner powder and Charmer for Eyeshadow below brow
+Cargo Northern Lights Palette double ended brush for shadow
+Sephora Large Blending Brush #27


Add me, share me, plus one me, and all that jazz. Once I hit 250 subscribers or followers I will start monthly high end makeup giveaways.
Twitter @snowbunnybeth90 pinterest @callowayelizabeth instagram @buzzybee1990 facebook.com/yarnandbeauty youtube coming soon! Yarnandbeauty.blogspot.com yarnandbeauty.wordpress.com
Stay beautiful because that's exactly what you are!
No comments:
Post a Comment