
TOO FACED BOUDOIR EYES SMOKEY EYE TUTORIAL!

Swatches of each color in the palette so you can use similar colors you own if you don't own Boudoir Eyes.

Unless otherwise specified always tap off the excess powder from your brush, blend, blend, blend, always use a clean brush when changing colors. Use windshield wiper motion with your brush in crease, dabbing/patting motion on lid, small circular motion in outer v, patting motion in inner v, swiping/drawing motion one direction outwards for under brow and same with liner on top and bottom lashes.


Products used:
+Too faced boudoir eyes Palette
+ diorshow iconic Mascara
+Too Faced Better Than Sex Mascara
+Too Faced Melted Matte in Queen B
+ urban decay all nighter Liquid Foundation
+ABH Glow Kit in Sun Dipped (contour and highlight)
+Sephora large blending brush #27
+ABH brow duo brush #14 for liner
+ABH brow duo brush #20 for brows
+Benefit Precisely, My Brow in #3
+kvd ink liner in trooper
+ double ended shadow brush from Cargo Northern Lights Palette
+urban decay all nighter setting spray
+laura mercier translucent powder
+abh concealer
Step one: do your brows then add foundation to eyelids and brow bone then add eye primer lid and brow bone. Now add the color Lap Dance to crease and just above natural crease and outer third of eye.


Step two: with fluffy blending brush just in the top of your crease and above your crease use the color Garter Belt. BLEND. After this do the same with Sugar Walls lightly just over top of what you already did with Garter Belt.

Step three: with your fluffy brush grab the color French Tickler and put it in your outer v in circular motions then blend into crease with windshield wiper motion to smoke it out.

Step four: with fluffy brush grab Lap Dance again and put in crease and above crease lightly. BLEND and smoke it outwards towards hairline.

Step five: with your shadow brush grab the color Satin Sheets and dab all over lid from inner V to right where your outer third color begins.


Step seven: use Satin Sheets to brighten up your lid and inner V where needed. With fluffy brush grab In The Buff and swipe softly from top of crease colors to under brow to soften and brighten the dark colors.

Step eight: grab Satin Sheets, Birthday Suit, or any highlighter shade of your choice and with your thinnest shadow brush or liner brush draw a line with the shadow directly under eyebrow line. Make sure it's a soft line by blending a bit if you need to. Then put in inner v and bottom lash line in inner half where there's no lashes.

Step nine: With your liner brush grab French Tickler and line top lash line and bottom outer half only where lashes are. Then with your liner brush grab Leader and line under bottom lashes only.

Step ten: line with another liner for a more defined or dark line if smokeshow wasn't dark enough for you. Make a winged eyeliner with a liquid or felt tip liner preferably. use your mascara. I use two different mascaras one on top of the other for a bigger look. Swipe front and back of lash for a really big look. Video tutorial on this method coming soon.

Finishing: clean up with make up remover under and on side of eyes to clean fall out and sharpen line on side of eye. Then add concealer under eye. Then exfoliate lips with sugar or exfoliate and then wipe and add matte lipstick. Then contour and highlight. I used blush on apples of cheeks only before highlight. I contour cheeks and nose and highlight cheek bones, temples, forehead, center nose, cupid bow above lips and center chin. Set with powder or setting spray.
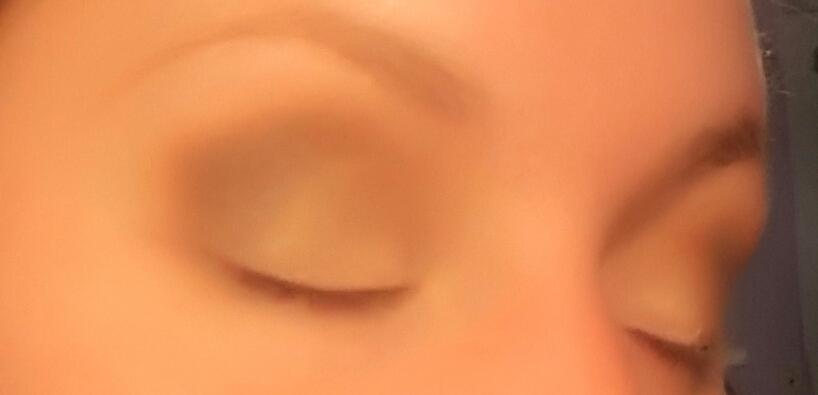
Finished look


Add, share, plus one, and all that jazz. At 250 followers and subscribers between all social media I will start monthly or more. Blog posts at least daily.
Twitter @snowbunnybeth90 pinterest @callowayelizabeth instagram @buzzybee1990 facebook.com/yarnandbeauty youtube coming soon! Yarnandbeauty.blogger.com yarnandbeauty.wordpress.com
No comments:
Post a Comment