
HOW TO COLOR YOUR HAIR AT HOME & MAKE IT LOOK PROFESSIONAL WITH NO EXTRA PRODUCTS!
First off let's talk. You get a wild hair up your ass and want to color your hair. Whether you seen a new style on a friend or someone famous and the color just inspired you or you've been considering it for a while and you've been googling, instagramming, pinterest stalking pictures to make sure people with your skin tone, eye color, etc look good with that hair color and if so what shade and tone of that color do you want. Sounds like it should be more the enough planning right? I mean really, what could go wrong. Why wouldn't it end up perfect right out of the box and why wouldn't it look exactly like the girls hair on the box? Right?

Sometimes it turns out fine, I don't think it's ever been anything anyone has written home about (box color). But it's pretty enough and other times it just doesn't look right. It's not that it's not the color you wanted it just looks different than expected. You can't really put your finger on why but it just doesn't look perfect or even close to it.


So let me tell you why. Our natural hair color has variants in the color. Some strands will be lighter, some darker, some golder, some ashier, and so on and so forth. Most of the time it's not anything you can see easily unless you're looking for it and other times it's super obvious like in the summers when you get natural highlights. Our hairs aren't just kne uniform color. Even asians and people with really dark hair or people that look like their hair is just one color really isn't. This applies to everybody.
I used kids photos here because they are about the only people you can all but be sure that they haven't colored their hair. Look closely.


So why does this affect why you don't get the result you want when you dye your hair?
Hair dye from the drug store or anywhere is only one color. It may say it's prismatic" or whatever buzz word they use to say it gives highlights but if it's a one step dye with one mixture you're only getting one color And that's a fact.
When your hair is all one color it makes it look weird and unnatural. You also run the risk of it looking like a wig. You will look really washed out and it's just not flattering on 99 percent of the public.
Keep in mind these people's hair may not look horrible but it doesn't look great either. You can see it makes their skin really pale and sallow looking OR it makes their.skin look red like a cherry. Colors need to be complimentary. The stark contrast just doesn't look good on a person. That's where highlights and lowlights come in, even if they aren't obvious.


So how can the budget conscious of us dye our hair at home without spending any extra money and without having to go to a salon?

I'm about to tell you. The supplies you will need are:
Your hair dye. (Any brand, any color.)
Small hair clips, bobbi pins or tin foil.
Plastic bag
Hair tie


TUTORIAL:
MIX YOUR HAIR DYE AS USUAL

NOW START WITH THE TOP LAYER OF HAIR SINCE THIS IS WHAT FRAMES YOUR FACE AND WHAT EVERYONE SEES. THIS IS THE PART THAT NEEDS TO LOOK THE BEST. YOU CAN PICK A COLOR THAT'S CLOSE TO YOUR CURRENT HAIR COLOR OR A BIG DIFFERENCE FOR A HIGHLIGHTED/ LOWLIGHTED LOOK


NOW THINK OF WHERE YOU WANT THE STREAKS FOR YOUR HIGHLIGHTS OR IF IT'S CLOSE TO YOUR CURRENT COLOR JUST PULL OUT CHUNKS OF HAIR THAT ARE A FINGER AND A HALF WIDTH WIDE. PIN IT OR CLIP IT UP OR WRAP IT IN TIN FOIL SO IT DOESN'T GET DYED.


THEN DYE EVERYTHING ON EACH SIDE OF IT. THAT INCLUDES TOP, BOTTOM, AND EACH SIDE OF THE HAIR YOU CLIPPED UP. THEN PICK UP THE NEXT STREAK THAT WON'T BE DYED. CLIP IT UP AND REPEAT THE PROCESS.
This works better with a hair dye brush but you can just use your applicator bottle and finger of you're comfortable with that.

YOU CAN DO THIS WITH JUST THE TOP LAYER AND THEN JUST A FEW MORE THROUGHOUT THE HAIR OR YOU CAN DO THEM EVERY INCH THROUGH EVERY LAYER. IT'S REALLY UP TO YOU.

Face framing highlights

Whole head highlights
THIS ADDS DEPTH AND NATURAL HIGHLIGHTS WITHOUT USING ANOTHER HAIR COLOR AND DYING YOUR HAIR MORE.
IT'S SUPER EASY AND WORTH THE COUPLE EXTRA MINUTES IT TAKES.

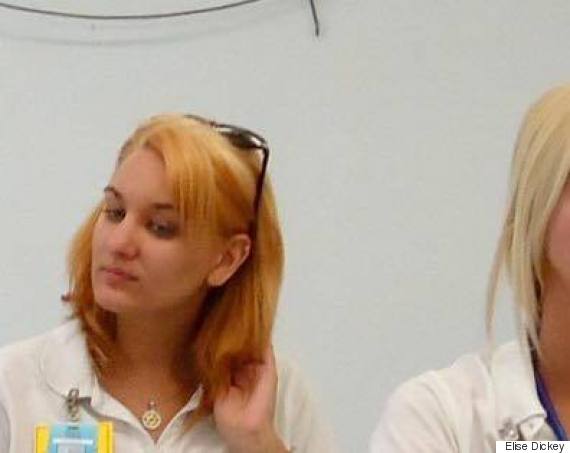
HERE'S MY BEFORE AND HERE'S A CLOSE UP OF THE AFTER:


Twitter snowbunnybeth90 instagram buzzybee25 pinterest callowayelizabeth Facebook.com/YARNANDBEAUTY YARNANDBEAUTY.BLOGSPOT.com YARNANDBEAUTY.wordpress.com
Stay beautiful ladies, because that's what you are! Exactly the way you are! And don't let anyone tell you different gorgeous!
No comments:
Post a Comment